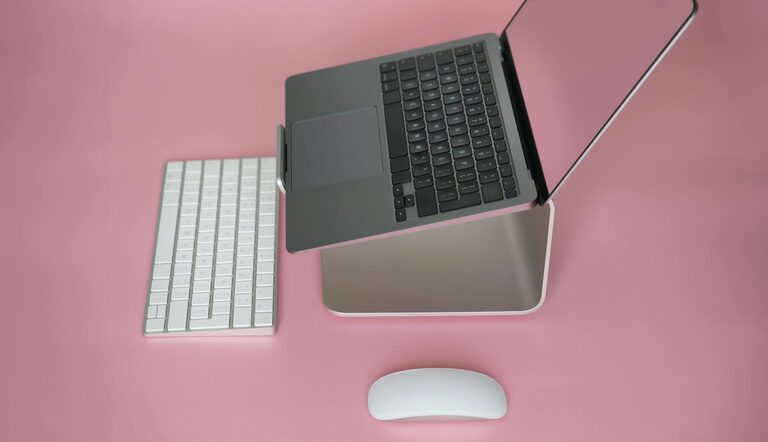
Creating a dedicated charging station for your devices is a smart way to keep your home organized and ensure your gadgets are always ready to use. Whether you have smartphones, tablets, smartwatches, or other rechargeable devices, having a central charging hub can save time and reduce the clutter of tangled cords. In this post, we’ll guide you through setting up an effective charging station that blends seamlessly with your home environment.
Why Set Up a Charging Station?
Before diving into the setup process, let’s explore why a charging station is beneficial:
– Organization: Keeps all cords and devices in one place, reducing clutter.
– Convenience: Devices charge together and are easy to find.
– Safety: Helps avoid overloading outlets and reduces tripping hazards from loose cables.
– Longevity: Prevents damage from improper charging and wear on cords.
Step 1: Choose the Right Location
The first step is selecting a practical spot to host your charging station. Consider the following:
– Accessibility: Pick a location frequently used, such as a kitchen counter, desk, or entryway table.
– Proximity to Power: Ensure there’s a nearby outlet to plug in chargers.
– Surface: Choose a sturdy, flat surface that can support multiple devices.
– Visibility: Decide if you want the station visible or discreet.
Step 2: Gather Materials and Equipment
To build your charging station, you’ll need some basic items:
– Charging hub or power strip: Opt for a power strip with multiple USB ports or a multi-device charging dock.
– Cable organizers: Cable clips, sleeves, or boxes help manage cords.
– Device stands or holders: Keep devices upright and easily accessible.
– Labeling materials: Small labels or tags to identify cords for different devices.
– Optional: A small tray or box to store smaller accessories like earbuds or charging bricks.
Step 3: Select Charging Devices
Consider your device charging needs carefully:
– Multi-port USB charger: Enables charging several devices simultaneously via USB.
– Wireless charger: Ideal for compatible smartphones and earbuds.
– Fast chargers: If your devices support fast charging, include compatible chargers to reduce charge time.
Ensure all chargers are certified and meet safety standards to protect your devices.
Step 4: Organize Cables and Chargers
Cable management is key to a neat charging station:
– Shorten long cables: Use cable ties or wraps to keep cords tidy.
– Use cable clips or holders: Attach these to the edge of your chosen surface to prevent cables from falling.
– Label cables: Helps differentiate between device chargers quickly.
– Hide extra cables: Use a cable box or organizer to conceal power strips and excess cable length.
Step 5: Arrange Devices Neatly
Arrange your devices to maximize space and convenience:
– Use device stands: These keep phones or tablets upright for easy visibility and handling.
– Group by usage: Place frequently used devices within easy reach.
– Avoid stacking: Ensure devices have proper ventilation and chargers fit comfortably.
Step 6: Establish Charging Habits
Maintaining your charging station means adopting good practices:
– Charge devices regularly: Avoid overcharging or letting batteries drain completely.
– Disconnect when done: Unplug chargers when not in use to save energy and prevent overheating.
– Keep the area clean: Dust and debris can affect charging ports; wipe the station regularly.
Step 7: Customize Your Charging Station
Personalize your setup based on your style and needs:
– Decorate the area: Add small plants, photos, or artwork to blend the station into your decor.
– Use matching accessories: Choose cables and organizers in colors that suit your room.
– Add labels or notes: Keep reminders handy to unplug devices or check battery health.
Troubleshooting Tips
– Devices not charging? Check all cable connections and power sources.
– Slow charging? Use high-quality chargers compatible with your devices.
– Power strip overload? Avoid plugging in too many devices to prevent overheating.
Conclusion
Setting up a charging station is a simple project that can make a big difference in your daily routine. By following these steps and organizing your devices thoughtfully, you’ll enjoy a clutter-free space with all your gadgets ready to go. Take time to tailor your station to what works best for you, and enjoy the convenience it offers.
—
Feel free to share your experience or tips in the comments below!

